How and When to Repot an Orchid

Repotting an orchid might seem daunting, but knowing when and how to give your plant a new home makes all the difference between a thriving plant and a struggling one. Whether your orchid has outgrown its pot or its potting mix has broken down, this guide walks you through every step of the repotting process.
In this article by thedailyECO, we'll explore how and when to repot an orchid, how to choose the right materials, and provide the best aftercare.
Why do orchids need repotting?
Orchids need repotting to stay healthy and thrive. This is because over time their potting mix breaks down and becomes compact, which suffocates the roots and can lead to rot.
Think of old potting mix like a worn-out sponge. With time, it loses its ability to both hold moisture and drain properly. Fresh mix provides the right balance of moisture and airflow that orchid roots need. Without repotting, your orchid might develop root rot, struggle to absorb nutrients, or stop blooming altogether.
Regular repotting also gives you a chance to check your orchid's overall health. You can spot problems early by examining the roots, removing dead tissue, and providing fresh growing material. It's like giving your plant a health checkup and fresh start.
Our other article helps you recognize and treat common issues before they harm your beautiful plants.

When is the best time to repot an orchid?
The best time to repot orchids is right after blooming, when the last flower drops. At this stage, the plant diverts energy from flower production to root and leaf growth.
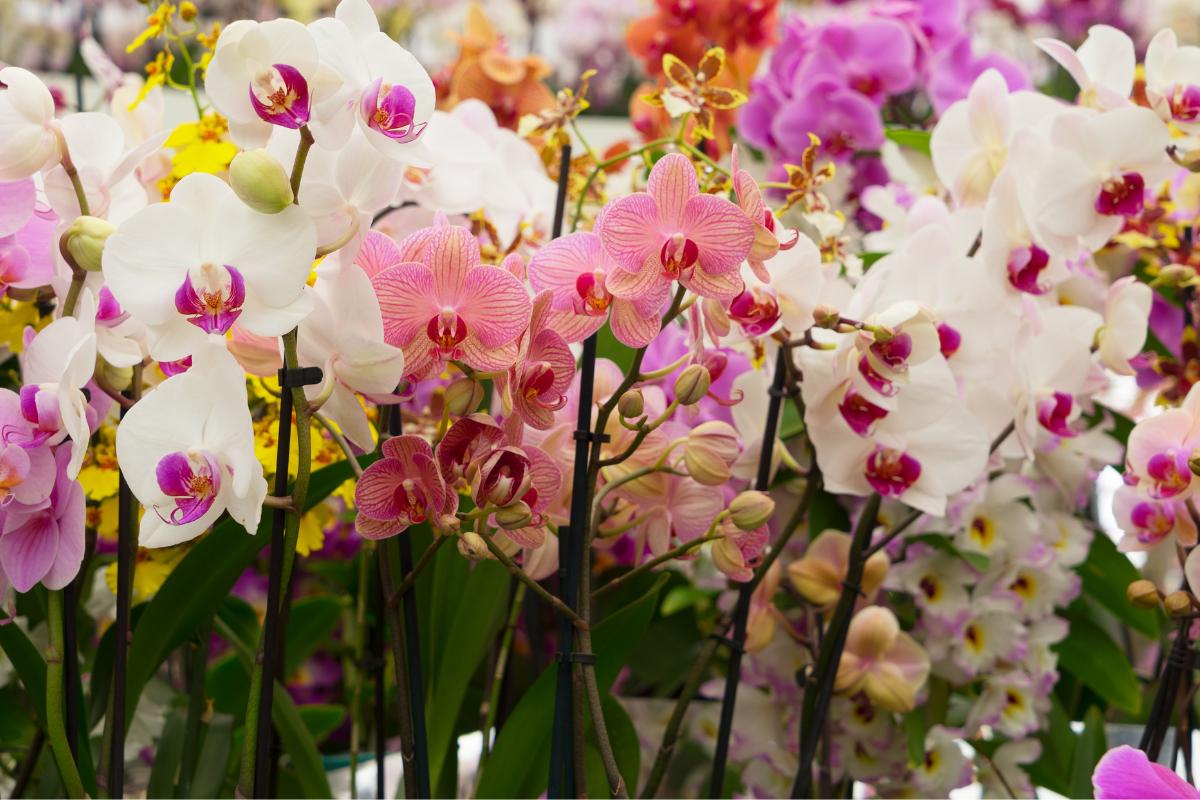
Spring works well for most indoor orchids, especially Phalaenopsis, as it matches their natural growth cycle. Not only that, but the warmer temperatures and increased humidity help roots establish quickly.
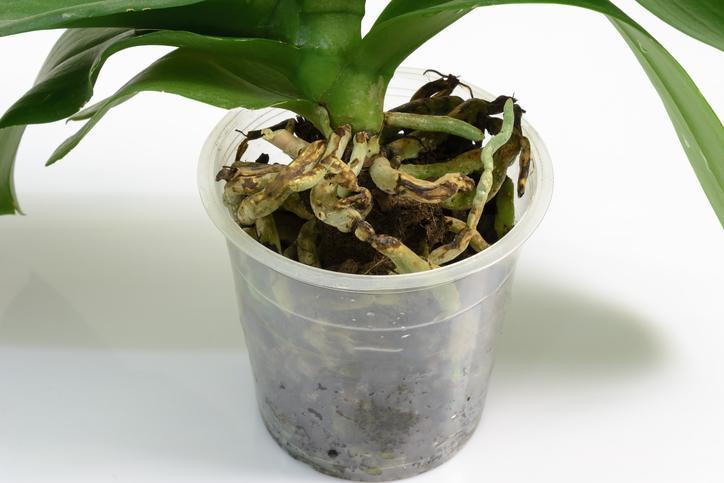
However, it is important to note that it is best not to wait for the ideal season if you notice:
- Rotting or mushy roots
- Potting mix that stays wet over a week
- Roots growing far beyond the pot
- Salt buildup on the pot or mix
- Yellowing leaves despite proper care
How often should you repot an orchid?
Most orchids need repotting every 1-2 years or when their roots start growing over the pot's edge.

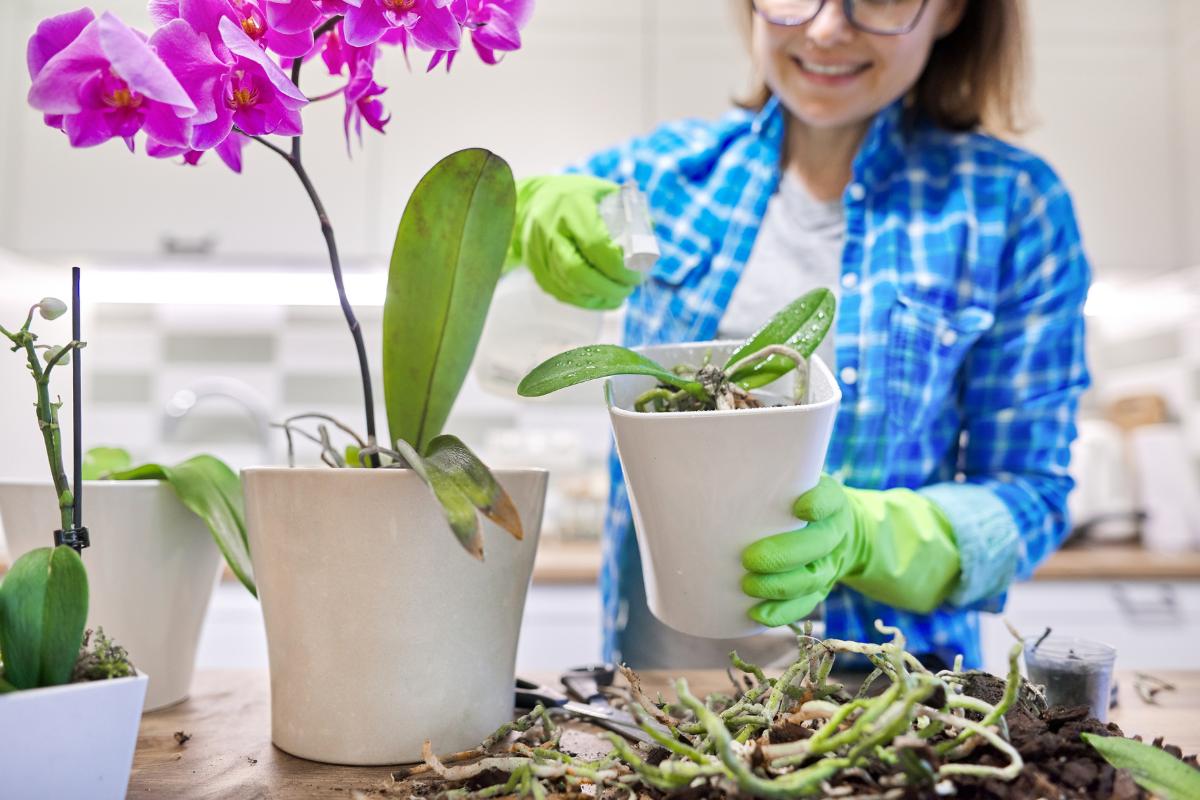
How to repot an orchid
Here's how to repot your orchid successfully:
- Remove the orchid from its current pot: gently work your fingers around the edge and lift the plant out. If it's stuck, soak the roots briefly in water to loosen them.
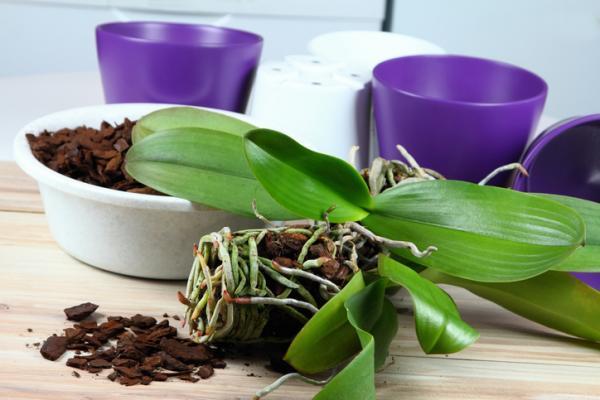
- Clean the roots: remove all old potting mix and inspect the root system. Healthy roots are firm and light green when wet, silvery when dry. Cut away any soft, brown, or rotting roots with sterilized scissors.
- Select the right pot: choose one just slightly larger than the root mass. The best rule of thumb is 2.5-5 cm (1-2 inches) wider than the previous pot. Clear plastic pots work well since they let you monitor root health.
- Position the orchid: hold it centered in the new pot with the base of the leaves sitting just below the rim.
- Add fresh potting mix: fill around the roots gradually, tapping the pot gently to settle the mix. Do not forget to leave some air pockets, orchid roots need good airflow.
If the plant seems wobbly, add a support stake, being careful not to damage roots.
Just like orchids, many beautiful plants prefer life away from direct sun. Find your perfect shade-loving plant in our other article.

How to mount and transplant orchids to a trunk or tree
Mounting an orchid on a tree trunk mimics how these plants grow in nature. Here's how to help your orchid thrive on its new vertical home:
Select the right trunk material first. Cork bark, tree fern fiber, or natural wood branches work well. Avoid chemically treated wood or bark that's starting to decompose. Your mounting surface needs enough texture for roots to grip and should hold some moisture without staying wet.
Start by soaking your sphagnum moss in water. While that's soaking, examine your orchid's roots and trim away any dead or rotting sections. Position the orchid against the mount where it'll have room to grow. The crown should point slightly upward to prevent water collection between leaves.
Secure the orchid by wrapping wire or fishing line around both plant and mount in a figure-eight pattern. Add damp sphagnum moss between the roots and mounting surface. This will help maintain humidity until the roots attach themselves. Don't pack it too tightly; roots need air circulation.
For the first few weeks, mist the mount and moss daily. Your orchid needs higher humidity while establishing itself. Over time, you'll see roots starting to grip the mounting surface. Once they're well-attached, usually after several months, you can gradually reduce misting.
Keep the mounted orchid in bright, indirect light and protect it from harsh air currents. Most mounted orchids need more frequent watering than potted ones, since they dry out faster.
You'll know your orchid has adapted well to its new mount when roots begin to grip the surface, leaves stay firm and green, the plant holds steady without extra ties, and it grows like it would in nature. These signs usually appear within a few months of mounting, though every orchid adjusts at its own pace.

How to care for an orchid after repotting
During the first week after repotting, don't water your orchid at all. The plant needs time for any cut or damaged roots to heal, and watering too soon can lead to rot. Focus on providing bright, indirect light and normal room humidity.
Start light watering in week two, waiting until the top layer of potting mix feels dry. Water thoroughly but less frequently than you did before repotting - the new mix retains moisture differently than the old material. Let water drain completely and never leave the pot sitting in water.
Hold off on fertilizing until you see new root growth, usually within 3-4 weeks. When you spot bright green root tips emerging, that's your signal to resume normal feeding with a balanced orchid fertilizer at quarter strength.
Keep an eye on your orchid's leaves during recovery. They should stay firm and maintain their color. If leaves start to wrinkle or yellow, the plant might need more humidity. A good tip is to mist the air around it, not the leaves themselves. It is also crucial to keep your orchid away from drafts, air conditioning vents, or heating sources. Room temperatures between 18.3-26.7°C (65-80°F) work well for most indoor orchids.
Once you see steady root growth and the plant feels stable in its pot, usually after about a month, you can return to your regular care routine. The orchid should reward your patience with healthy new growth and eventual blooming.
Did you know that some orchids are so rare, they're worth more than gold? Explore these extremely rare orchids in our other article.
If you want to read similar articles to How and When to Repot an Orchid, we recommend you visit our Plant care and cultivation category.


