How to Make Worm Castings at Home

Vermicompost is the process by which worms blend decomposing organic matter on the ground. This happens in nature and is very beneficial to the soil as it allows for nutrients to be developed and spread. In turn, this allows for better plant growth and greatly benefits various ecosystems. This is thanks to the end product, a nutrient-rich product known as worm castings, worm humus and vermicast, among others. It is a process which has been adapted industrially for use in agriculture and even home gardening.
At thedailyECO, we explain how to make your own worm castings at home. The rearing of worms for any purpose is known as vermiculture, something which can seem labor intensive. We show you that making your own vermicomposter is both easy and one of the most beneficial ways to grow plants in soil.
What is worm castings?
Worm castings is an organic and ecological natural fertilizer. Natural organic fertilizers do not have added synthetic chemical components and can be used in organic agriculture. This is because it provides numerous benefits without having to resort to artificial compounds. These compounds can pollute the soil over time and their industrial production is problematic.
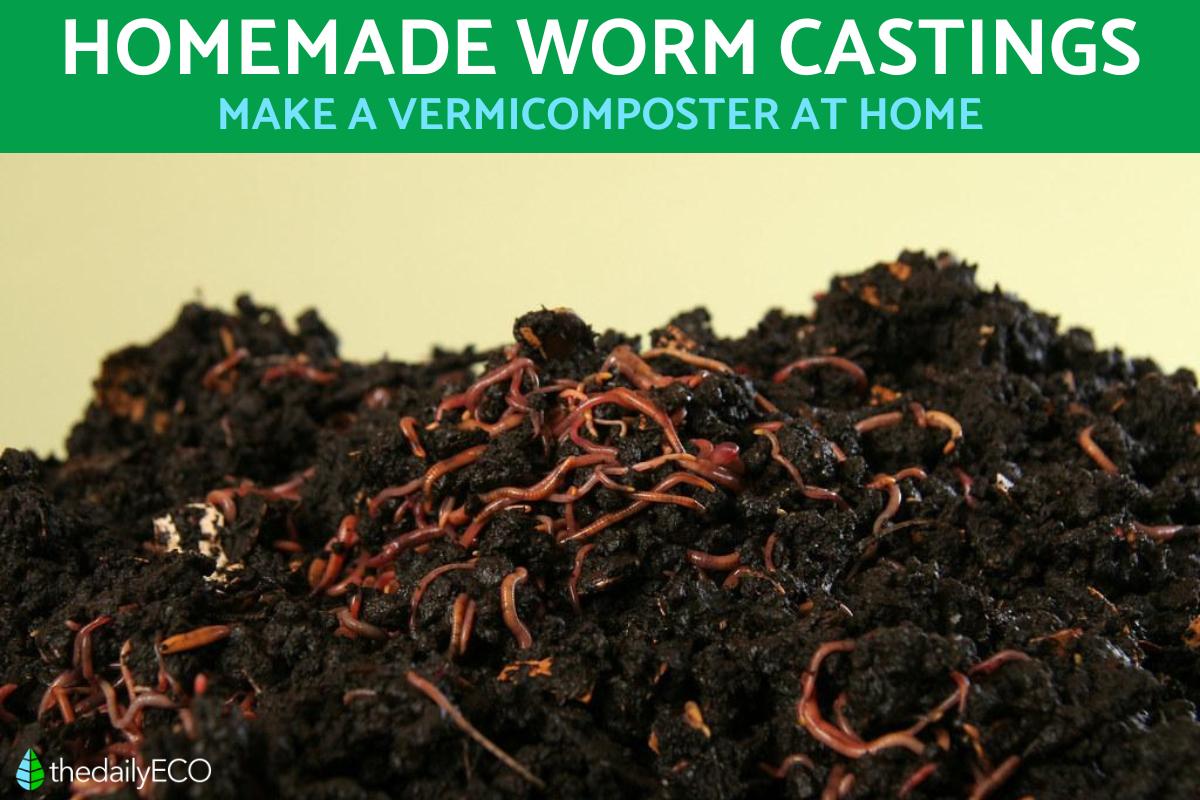
Worm castings is also sometimes referred to as worm feces. This is because this is exactly what it is. Worm castings is the organic matter produced by the earthworms after digestion. In nature, this returns directly to the decomposed earth around it, which takes on a new composition due to the nutrients released. Other microorganisms are involved in the process, which are combined both in the soil and digestive tract of the worm.
Vermicompost has a spongy texture that greatly favors both the aeration of the earth and its ability to retain water. It does so without causing waterlogging. Moreover, earthworm excrement creates castings rich in many nutrients and minerals that plants assimilate and use to grow, flower, and reproduce. These nutrients include nitrogen, potassium, phosphorus, and magnesium.
Another of the main benefits of worm castings is its large load of beneficial microorganisms for plants. These help to protect them against attack by fungi and harmful bacteria. It is a natural, effective, and quick way to treat organic waste, meaning it is a process many people are choosing to do at home.
See some of the plants you can use worm castings for with our article on the best white flowering plants for the garden. In addition, worm castings can be used to enhance the growth of vegetables such as tomatoes, peppers, and cucumbers, making your home garden even more productive.

Benefits of making your own worm castings
We can buy commercial worm castings at a gardening store. This is used as fertilizer which is added to the substrate of your plants, usually in the form of soil. It can be a great product, especially if it is made ethically and organically. You can achieve great benefit to your plants because worm castings:
- Is rich in nutrients which will benefit your plants.
- Generally creates a product with low salinity.
- Helps to increase water retention of the soil.
- Provides beneficial microorganisms which create a better environment for healthy growth.
- Helps to improve seed growth and germination.
- Reduces the chances of developing certain plant diseases.
- Improves the overall structure of the soil and its nutrient composition.
- Encourages the presence of earthworms and other beneficial organisms in the soil.
Although you can benefit from store-bought worm castings, making it home means you can have an almost unlimited amount. You can also control its quality and adjust its composition according to your needs. Although it will cost money to set up, it will eventually be cheaper as you are producing it yourself.
Additionally, homemade worm castings can be customized to suit specific plants by altering the organic material you feed the worms. This way, you can create a tailored fertilizer that best supports the particular flora in your garden or home.
How to make homemade worm castings
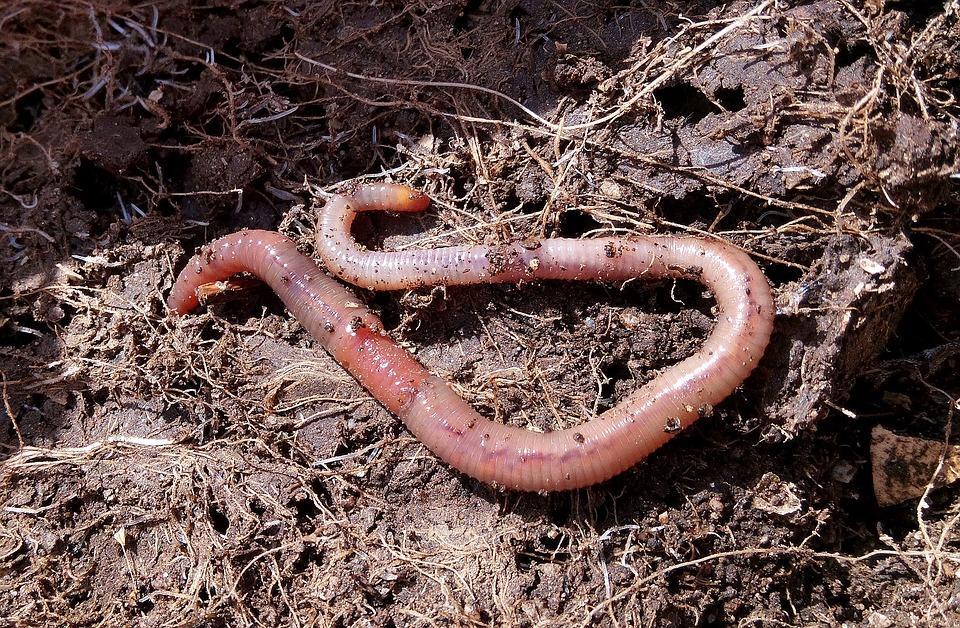
Although making worm castings is very cheap in the long run, it is initially necessary to get hold of the worms themselves. The best thing for this is to buy Californian red worms which are preferable for their great ability to devour organic matter and produce humus quickly. Their high reproduction speed is also a great benefit.
It will also be necessary to prepare a vermicomposter or composter for worms. There are many ways to prepare your own vermicomposter, but one of the cheapest and easiest is to use polystyrene or Styrofoam boxes. They are simple boxes to obtain from many shops such as greengrocers or fishmongers. With this system, you will produce both solid and liquid humus. You will need two boxes of similar size with lids.
To make your own homemade worm castings, you will need:
- Earthworms
- 2 Styrofoam boxes
- Large water bottle (needs to stand upright)
- Boxcutter
- Old newspaper or cardboard
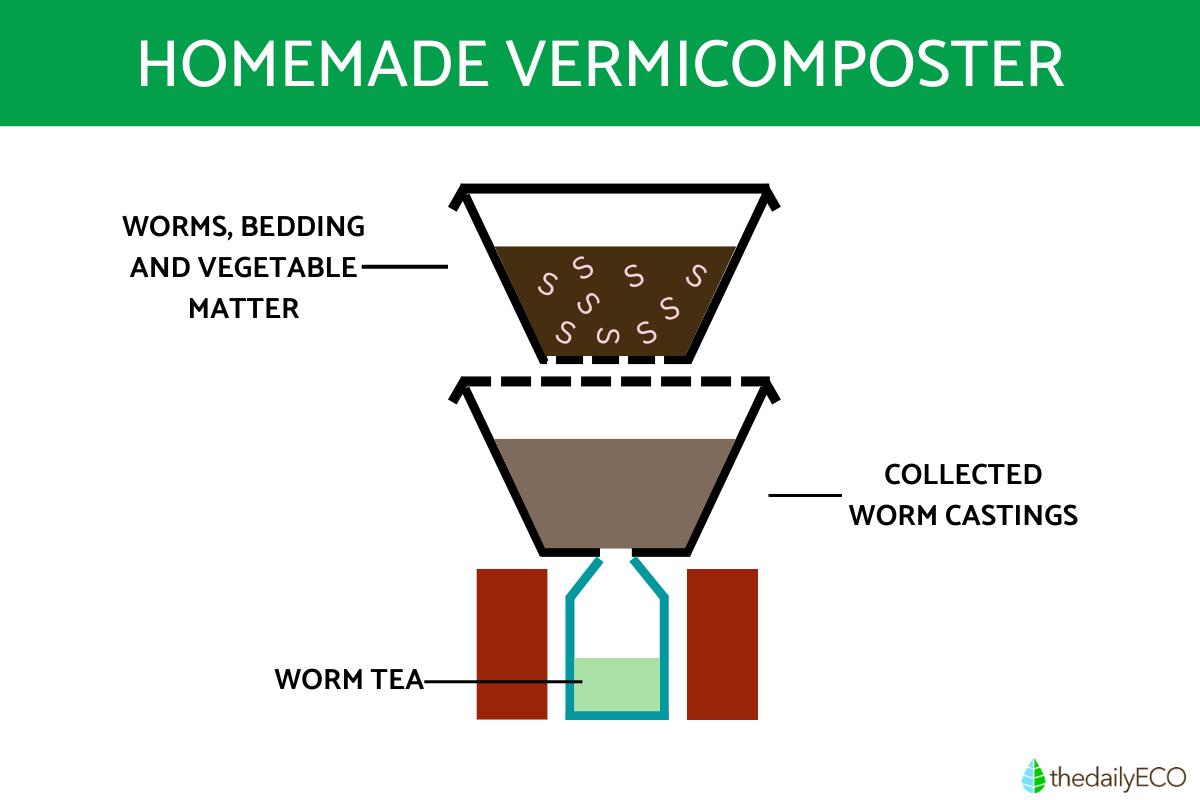
A vermicomposter is a layered device. You will need to have boxes which are in some way stackable to allow for the runoff to be collected below, the liquid part of which is known as ‘worm tea’. You can use one large container, but you will need to fashion compartments inside which is harder to do.
How to make a vermicomposter and worm castings
- When you have the aforementioned materials, make holes in the lid of the lower box and the base of the upper box to provide ventilation and transpiration between each container.
- In the lower box, prepare a drain at the bottom to collect the liquid which will be our worm tea. To do this, make a hole the size of the neck of your plastic bottle. Fit the neck of your appropriately sized bottle into the hole and make it as tight as possible. Seal it with glue, silicone, or tape if you think there will be leakage.
- Once this is done, you may be able to use the base of this bottle to keep your vermicomposter standing. If not, you will need to put something around it such as bricks which can support the boxes above.
- Line the base of the upper box with dampened newspaper or cardboard to maintain moisture and prevent worms from escaping.
- Once the compost is made, place it as a soil bedding in the upper box. This is where you put the worms together with some vegetable waste.
- The vegetable residues and the soil bedding remain in the upper tray, and the humus will fall into the lower one. Thanks to gravity and the drain we have placed in the lower box, you will be able to collect the nutrient-rich worm tea.
As a final note, it is important to add crushed eggshells to the vermicomposter. This will help prevent the humus from becoming too acidic. It is important not to let the mix get too dry, so you can add water as necessary from time to time. Additionally, avoid adding too much citrus or onion peel, as they can increase acidity levels and may harm the worms.

How to use worm castings for plants
Applying worm castings for use in the garden or pots is as simple as mixing the solid humus with the substrate of the plant. This can be used as a fertilizer to help a plant get more nutrients, but it is also perfect for planting and repotting. If you want to apply to a plant as a fertilizer, you simply have to apply a thin layer directly on this soil and rake it over the substrate.
Using the liquid worm tea is even easier. We can use this when irrigating the plant normally. Simply use the amount of water you would normally require and add in some of the worm tea. If you want to help your plants grow, worm castings is a great product to add to your fertilizer. Find out what else you can use at home with our guide to making your own natural organic fertilizer.
For optimal results, apply worm castings every few months to maintain nutrient levels in the soil. This regular application supports continuous plant growth and health. Additionally, the presence of beneficial microorganisms in the worm castings helps to enhance soil biodiversity, creating a robust ecosystem for your plants.

If you want to read similar articles to How to Make Worm Castings at Home, we recommend you visit our Plant care and cultivation category.


